Hands-on: Profile By Slope from Point
Engineering Task: Grade a Parking Lot 1% upward from an Existing Inlet
{tip content="the zip includes the working dgn and the required files referenced: the terrain (required) and roadway geometry (optional). These files are part of the common dataset used in many of the civil training courses. when done, you can drop the working file into that dataset with seamless integration."}Dataset:{/tip}: Profile by Slope from Point (data zip)
{tip title="Available at Learn.Bentley.com" content="The Site modeling course steps through core grading techniques including Profile From Surface, Profile By Slope From Element, Applying Linear Templates, creating proposed terrains, and Creating Complex Terrains (merging!)."}Most Appropriate Pre-requisite: {/tip}Non-Corridor and Site Modeling course
- Open the {tip content="the working file is indicated by name. It may begin with \"Begin\" an underscore or some other indicator that it is the intended file. Other files in the zip are referenced into the working file (geometry? terrain?)"}working file{/tip}.
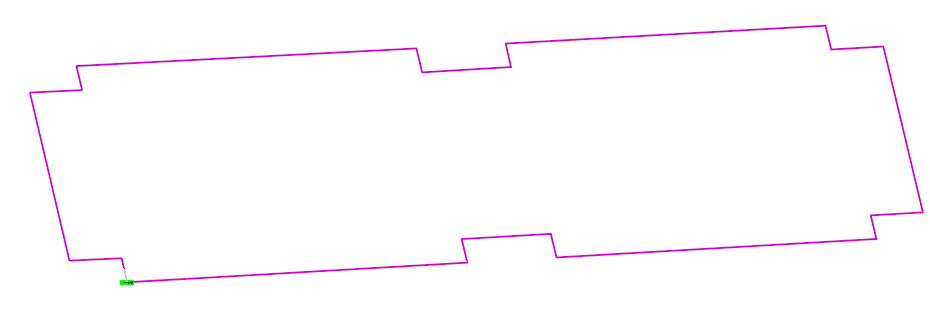
- Verify there is a Parking Perimeter and a Existing Inlet in the lower left corner.
The Inlet should show in the 3D Model.
- Click Profile By Slope from Point.
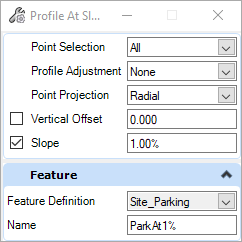
- Match the Settings shown
|
Point Selection: {tip content="Selecting All creates a profile that has vertical vertices between horizontal vertices. You'll get grade breaks. You could use Vertices, where only the horizontal vertices get horizontal vertices. This effectively makes single gradients along horizontal elements."}All{/tip} Profile Adjustment - {tip title="select None" content="Maximum or Minimum make a level profile, which we do NOT want"}None{/tip} Point Projection: Radial Slope: 1% |
 |
- At the Locate First Element to Profile prompt, click on the parking perimeter
- At the Locate Next Element to Profile - Reset to Complete prompt, right-click to Reset
- At the Locate Reference 3D point, click on the Inlet in the 3D view.
- The software will prompt through the other settings. You should have set them above. You should be able to simple confirm them with a click.
The new Profile shows up in the parking perimeter's Profile Model.

Note that the 3D Model does not show the 3D Parking Perimeter.
- Click-and-hover on the Profile element and click on Set Active Profile.
Once a horizontal has an Active Profile, the 3D feature shows in the 3D Model.
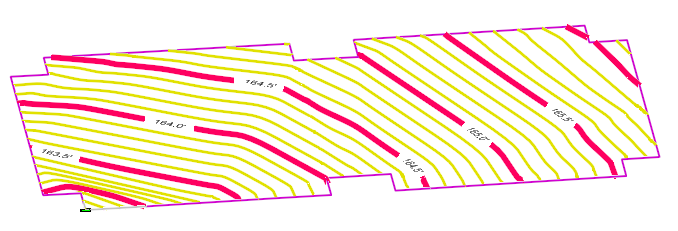
A {tip image="images/bsi/grading/iconTerrainFromElements.png" image_Terrain > Create from Elements} terrain created from element {/tip} would show how it drains.